A few months back, Dr. Tyler Nelson, a sports scientist and climber who owns a chiropractic sports medicine clinic and strength and conditioning business in Salt Lake City, wrote an article that covered the use of isometrics in training for climbing. This first article, Preparing to Try Hard Part I: Isometric Testing and PAP for Coaches, introduced us to how isometric testing results can be used to better inform training decisions.
Today, we have the second article in Tyler’s series on isometrics. In this installment, Tyler digs into some more of the science behind the importance of training with isometrics, how these concepts can be applied to finger strength training, and how we can uses these techniques to design training programs that autoregulate for fatigue.
Tyler is incredibly knowledgeable on these topics, so keep an open mind and be prepared to be exposed to some very new and unfamiliar training concepts. Before we jump right in, be sure to read the first article and fair warning: this is a very in-depth and scientific article. Coaches and athletes who really enjoy learning about the science behind training will find it highly informative. However, it is not a quick or easy read, so be prepared to dig in. Enjoy!
Program Auto-Regulation and Its Implications on Finger Training
Tyler Nelson DC, MS, CSCS
Camp4 Human Performance
Learn More from Tyler: If you want to work with Dr. Tyler Nelson on an individual basis for injuries or strength training, he offers remote consultations to people all over the world. He also teaches online classes on strength training and injuries. Learn more.
This article serves as a follow-up to my previous article: Preparing to Try Hard Part 1: Isometric Testing and PAP for Coaches.
In that article, I discussed how coaches could use an industrial crane scale to safely and effectively measure maximum force output as a replacement for traditional 1-repetition maximum testing.
This article will dive further into the practical applications of using maximum effort isometrics as a training tool and how to auto-regulate a program based on those values.
What Is Auto-Regulation and Why Does It Matter?
Auto-regulation as a concept used in strength and conditioning is the ability of athletes and coaches to adjust training intensity, volume, or frequency based on daily and weekly performance outcomes.
In order to do this effectively, we need to get into the habit of measuring force on a frequent basis. Without it, we often make complicated training decisions based on feel, or perceived exertion, which often ends in overload and injury.
The perceived exertion scale (RPE), a numeric scale quantifying exercise session intensity, is well accepted in the strength and conditioning community as a way to track overall fatigue. It has been my experience, however, that it is inadequate when assessing the tissue stiffness in the pulleys of the fingers. This is because ligament lengthening (tissue creep) does not respond in the same manner as muscle soreness and fatigue, leading one to inaccurately identify how “stressed” the pulleys of the fingers really are after a training session.
In order to quantify the stiffness in structures like the pulleys of the fingers, which, in climbing, bear an incredibly large load for their size, we need to be better prepared to suggest loading schemes.
Over the last year, I’ve gained a deeper appreciation of this principle by training myself and clients with a scale and noting that perceived exertion, emotional excitement levels (the psyche), and subjective fatigue is not enough of a safety measure when stressing the fingers with heavy loads. We’ve even attempted managing fatigue by tracking heart rate variability, which also is not specific enough. I’ve seen many times when re-testing climbers who were under the impression they were rested perform submaximally. Certainly, this could mean many things if spaced over a week’s time, but if we measure athletes every training session we get adaptation feedback that is a direct reflection of our program design.
This type of immediate feedback is used in all other sports and is essential for individuals looking to create adaptation with less injury, but also for coaches with large teams who manage climbers with unbridled access to climbing terrain.
The Stretch-Shortening Cycle and the Isometric Bridge
Before we jump right into the specifics of finger training with isometrics, it’s important to understand how vital an isometric contraction is in a broader sense. The best way to do this is to discuss the components of a dynamic movement. Every time we take a joint through its range of motion the muscle groups involved go through at least 2 of 3 phases. The lengthening phase (eccentric), the stopping phase (isometric, which is also called the amortization phase), and the shortening phase (concentric). These three components are called the stretch-shortening cycle, or SSC, and are essential in every muscle contraction.
The speed at which a muscle can go through these phases is dependent on a few things but ultimately controlled by the speed of the transition between lengthening and shortening. Generally speaking, the lighter the load or the shorter the range of motion the faster the SSC. Conversely, the heavier the load or the larger the range of motion, the slower the SSC. It’s important here to understand that we can use both heavy and low loading schemes to improve the performance of the SSC but that will have to wait for another article.
If we go through these three steps using an example it will be apparent why training the isometric portion is so essential for optimizing performance. For this example, let’s visualize the quadriceps muscle groups (both legs) during an exercise called the drop jump.

This illustration depicts the Stretch-Shortening Cycle taking place in the legs during a drop jump
In this exercise, the athlete drops from a box to the ground and then immediately jumps onto another box of a specified height. In a drop jump with a box low to the ground (12″-14″), it is likely that the quadriceps lengthening (eccentric) and stopping (isometric) force is of sufficient magnitude that the athlete would be able to rapidly explode up onto the next box.
When visualizing these concepts, it helps to think of the eccentric phase as the loading (stretching) of a spring, the isometric phase as the ability to hold a loaded spring, and the concentric phase as letting the spring go (shortening). If we increase the size of the box we drop from (increasing the load), the larger and more efficient the spring we need to overcome that increased load prior to muscle shortening.
As you can see from this brief example, the force capacity of the isometric muscle contraction has to at least equal the force capacity of the muscle-tendon unit while lengthening to be able to transition to the shortening phase of a muscle contraction. In this way, the isometric portion of the SSC serves as the bridge between the lengthening and shortening of every dynamic muscle contraction.
Put more simply, the size of the spring (muscle-tendon unit) has to be adequate in size and stiffness to slow down the motion and hold the loaded position (isometric phase) before it can recoil for the completion of the movement. Without adequate isometric force (holding the loaded spring) energy is lost, the transition is slowed down, and the athlete produces less power.
In the above example, the speed at which the athlete gets off the ground, and the power they generate (jump height) after slowing down the lowering movement is a direct reflection of the transfer of energy between the lengthening and shortening of the muscle-tendon unit. That transfer, every time regardless of the movement, is through an isometric muscle contraction.
Now imagine performing another exercise called the squat jump. In the squat jump, an athlete lowers to 90-degrees of knee flexion, holds for two seconds, then produces maximal power (jump height in inches or cm) from that position. Note that without pre-loading the muscle fibers with an eccentric muscle contraction the body has to generate force maximally starting with an isometric contraction. By skipping the pre-load phase, unless we train isometrics from that position, we get less recruitment and produce less power.

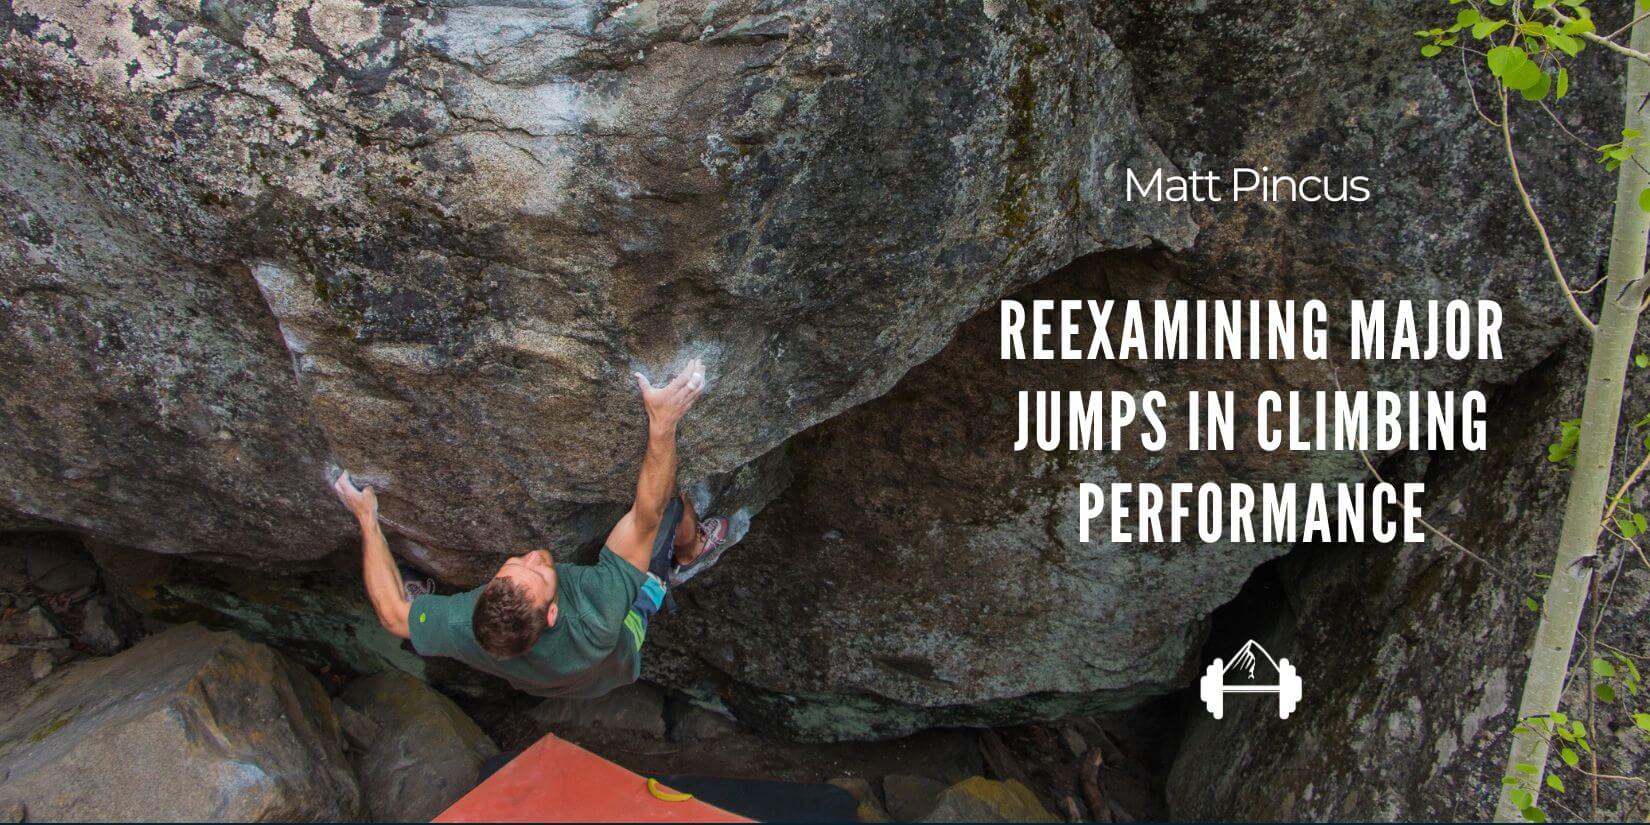
Seth Lytton climbing RMNP’s Potato Chip | Photo: Matt Pincus | @mpincus87
To put this back in climbing terms, stop and think about how many times on the wall you are “stuck” in a specific body position and you have to try and produce maximal force. It’s quite a common occurrence. Sometimes you will create a slight countermovement, but that’s not always possible. So if we can improve an athlete’s tensile capacity (motor unit recruitment and synchronization) and neuronal firing rate from specific joint angles in the gym with isometric training, we will be more powerful, more coordinated, and more confident on the wall when performing limit moves.
Think of it this way: When you reduce the milliseconds of time it takes to transition between the lengthening and shortening phase of a muscle contraction, you become more powerful.
As climbers, we get too narrowly focused on improving the isometric muscle contractions in the finger flexors only (think hangboarding). No doubt this is important, but there are other movements we can train safely and effectively with isometrics that will improve performance on the wall. Think in terms of the major movement patterns (pull, press, hip hinge, and squat) For climbing, the most important of these movements in climbing are the triple extension in the lower extremity (think deadlifting), the horizontal and vertical pull (pull-up and inverted row), and the horizontal push (push-up and bench press).
The reason these movements are important is that every time we stand to reach for a hold, pull down or in a semi-vertical plane, or create compression in the upper extremity we are performing all of these movements. (For a more detailed discussion of why these movements are important, refer to Part I of this article.)
So in order to maximize power production, we have to train the isometric portion of the SSC in these movements at critical joint angles. I say critical joint angles because these can be very athlete and project specific. In general, the most common joint angles are 120, 90, and 45 degrees with spillover that should cover the entire range. However, when it comes to horizontal/vertical pulling and pushing I tend to avoid the 45-degree angle due to it being stressful to the inner elbow and ulnar nerve.
Using Force Values as Repetition Cut-Offs for Training and Tracking Fatigue
Now that we’ve established the importance of training the isometric portion of the SSC, let’s look at how measuring force production can allow us to make more informed decisions when training.
One important thing to remember with maximum strength training is the need to keep the intensity very high, above 85% of max generally.
As with anything in training, this 85% value for training maximum strength is not absolute. There are many cut-off percentages used in various sports to stimulate specific adaptations, and it is also athlete specific. I’ve personally trained athletes with a 90% cut-off value as well as an 80% cut-off value for maximum strength training with good results. The percentage used is more a function of training age, maximum strength level, and whether you’re willing to allow an athlete more volume in the form of additional reps per set.
If you think about traditional weightlifting, it is very easy to understand that, if you’ve been tested properly, on any given training day you are assigned loads at a percentage of your 1-repetition max to stimulate specific adaptations. For endurance, we use low percentages of the 1-rep max and higher repetitions. For muscle hypertrophy we use moderate percentages and moderate repetitions. And for maximum strength, we use highest loads and low repetitions. When athletes use traditional movements with weights it is easy to estimate fatigue levels based on whether they are able to perform the movement. This is especially true if the intensity is near maximal.
However, the question becomes, “How can we do this effectively for climbers?” especially when it comes to finger training.
How Can We Measure Finger Force and What’s Available?
Fortunately, there are a few affordable options out there for coaches and athletes to now have the ability to measure maximum force production.
- The industrial crane scale set-up with a portable hangboard like the Tension Climbing Flash Board
- The Tindeq Equipment V-Rings and Progressor

The Tindeq Equipment V-Ring and Progressor on the left and the Tension Flash Board and an industrial crane scale on the left.
There are certainly other products out there that are much more expensive that also measure time. However, in my opinion, it is a good starting point for most coaches and climbers to have a tool that measures maximum force production. I’m prototype testing one now created by Exsurgo which will be available in the coming years as well as some mobile force plates that cost upwards of a thousand dollars. These more advanced tools will continue to become more affordable in the future and, I believe, will be the standard in finger training.
Why Are There So Many Hang Times to Choose From?
Now that we’ve covered the tools available for measuring force production from the fingers, we need to evaluate how climbers classically train their fingers and how these tools will let us do so more effectively, efficiently, and safely.
Through simple observation, we’ve got a pretty good handle on the average time a climber spends on and off a hold during either a route climb or boulder problem. Certainly, speed climbing is an exception to this rule. Most people would agree that on average somewhere between 6-10 seconds is spent on a hold and 1-3 seconds is spent moving between holds. This is where the genesis of the 7:3 repeater comes from. The idea of the 10-second hang comes from the amount of time Eva Lopez spent on a hold during one of her projects. This is also the length of time it is supposed to take to drain the local energy system responsible for providing ATP anaerobically for the highest intensity work. This 1-step process is only used by the largest motor units, the type IIx, which produce the greatest amount of force. In order to get your forearms stronger, you’ve got to engage those fibers in a sport specific manner. The goal here is to increase the intensity to near-maximal levels, utilize local energy sources, then allow them to recover before the next attempt. This is by no means the entire list but the most common two that are used.

A max isometric pull being performed on a 19mm edge.
With all these options, climbers are consistently left with the question, “Which hangboard protocol is the best for me?” Unfortunately, there is no way to know without proper testing.
This is one of the trickiest and most common questions I get from climbers about finger training. Athletes want to know what protocol to choose, how many reps to use, how many sets per session, and how much weight to add. This is where the art of strength and conditioning meets the science and I’m certainly no artist so I err on the side of science.
For many years, coaches have made people incredibly strong by slowly adding weight to their harness and having them hang from the smallest edge possible. There’s no doubt this makes your fingers stronger and translates directly to better performance on the rock.
However, there’s also no doubt that this strategy misses the mark on being prescriptive for the individual athlete in regards to the appropriate hang times and added loads necessary for adaptation. When to add more load, when to add another set, and when to take an additional rest day are questions every coach gets about finger training. And the truth is nobody really knows the answer. Adaptation, especially on highly trained athletes, is a very fine line between the appropriate stimulus and overload.
The Need for Specificity: A Case Study
To further illustrate this point, let’s use sample measurements from a climber we’ll call Athlete A as an example to discuss the specificity needs with finger training.
Athlete A boulders exclusively and has been training for 4 years. He has used weighted 10-second hangs and 7:3 repeaters in his past but always gets hurt. When I measured athlete A for maximum force production with a 4-finger pull on a 20mm edge, his S:W ratio is 2.0. Based on my testing, this is above average for a climber at the V8 level. After he is warmed up and we test him at maximum effort for 10-seconds, we see a sharp peak in force at 500 ms and maintenance of that peak for 5 seconds. After 5 seconds, there is a quick jump but then force steadily declines to when he reaches 10 seconds it’s around 70% peak force.

So, based on the percentages we discussed for training max force, we have fallen below that threshold. If this athlete wants to train maximum strength he has no business hanging for 10-seconds at max effort. His recruitment threshold is maxed out at around 5. When I put this same athlete through a max effort 7:3 repeater test, aimed at 10 sets, he keeps his power above 85% for 4 sets only. So training him at maximum effort requires 5-seconds of maximal work, separated by 120 seconds of rest, at 4 reps per set. If the rest of his program calls for more finger training volume, a longer rest is needed before continuing so that he can again reach at least 85% of his max.
Getting to the Point…
Certainly, this is more complicated and long-winded an assessment (that requires more advanced tools) than coaches who manage teams or athletes from a distance could or need to manage. In my opinion, however, this is the future of finger training and, using the affordable tools outlined above, coaches can still employ these same principles to make more educated decisions about the specifics of finger strength training.
As we go through the programming ideas for what I call force measured finger training, I want you to remember that you could also perform the same principles for the other movements noted above. These programming suggestions focus on the fingers, but deadlifting, horizontal pulls, vertical pulls, and horizontal presses could all be trained in a similar fashion.
The finger positions and isometric movements a coach chooses to train is entirely up to their expertise. Part 1 of this series discussed some positions that I like to use and those don’t need to be repeated here. I will say, however, that I’ve done a lot of unilateral and bilateral testing on the same athlete and have not been impressed with enough side-to-side difference to focus on unilateral training, unless under certain circumstances (injured side, a specific project with long hold times or max efforts on one side etc.).
An important thing to note when choosing a training position is the need to use the same tested position when training. Remember that isometric adaptations are position specific so try and match the joint angles, muscle lengths, and body positions each training session. Your testing should look as much like your training as possible for the numbers to matter most. I suggest using chains instead of slings or runners for the testing setup so you can document the exact link used for a given individual.
Now for the max effort auto-regulation program. Here’s what I’ve done on myself and some of my clients using a Tension Flash Board and an industrial crane scale.
To properly test isometrics with maximum efforts and a scale, review Part 1 of this series. Once your testing is complete choose 4 finger positions you’ll train. You could choose more but one thing to remember is that maximum effort isometrics are very fatiguing on the nervous system. Remember, you’re trying at 100% effort which requires tensile force through the entire body.
For my training, as well as my testing, I used the Tension Climbing Flash Board that has 3 edge sizes to pull from. The edge sizes are 19mm, 13mm, and 8mm respectively. The finger positions I chose are:
- 19mm half crimp with 4-fingers
- 13mm half crimp with 4-fingers
- 8mm full crimp with 4-fingers
- 19mm half crimp pull 2-fingers (middle and ring).
Note that before I started training, I used those same finger positions when I tested my maximum values over 3 attempts at each position with adequate rest (3-5 minutes) between attempts. I performed all of these in a vertical pull position with my elbows at 120-degrees of flexion. For me, that is my passive muscle resting length and likely my strongest position.
In determining my max, I chose the best of 3 as my maximum value. You could, however, also take the average of 3 efforts to use as a max. I’ve seen both methods used in other sports.
So once I had my testing values, I chose 85% of that max for the 4-finger half crimp positions (19mm and 13mm) and 90% of that max for the full crimp and 2-finger positions. My rationale for the difference of 5% is based on the potential for more volume at 85%. I was hesitant to prescribe a too low percent maximum for the 2-finger and full crimp positions due to the increased risk of injury. Because there’s not good prescriptive information out there about training fingers like this, I used those percentage cut-offs as my gauge on how many repetitions to perform in a given set, or whether my fingers were ready for training on a given day.
My goal with this finger training protocol is to continually stimulate my recruitment threshold with low volume high-intensity loading at or very close to my maximum every effort. Given that most peak recruitment thresholds, from the testing I’ve done on athletes, is around 5 seconds, I chose a maximum effort pull time of 5-7 seconds. That range has also been used in other sports for large multi-joint isometric movements like the deadlift pin pull.
My initial intent was to see how many attempts I could perform above my cut-off value in one set. Over time, I decided that was too much strain on my pulleys, so I would separate the hardest sets and cap them at 10 repetitions (4-finger 8mm edge size). This is a lot of maximal repetitions. As you can see from the images I performed 16 repetitions at max effort on the 4-finger half crimp on the 19mm edge, 12 repetitions on the 13mm edge with 4-fingers, 11 repetitions on the 8mm edge with full crimp, and 8 repetitions on the 19mm edge with 2-fingers. Between each max attempt, I took 60-120 seconds rest or longer if I felt the fingers needed additional recovery. Between hand positions, I took 3-5 minutes.

The isometric values from Tyler’s initial trials on himself.
So, if we break down the loading a bit more, I loaded my fingers at max effort 47 times in the first session. This equates to approximately 235-329 (range between 5-7s.) seconds of time under tension with a work:rest ratio of 1:12.
After the first session, my fingers were noticeably fatigued. However, I still tried everyday post-warmup to reproduce that minimum force cutoff value at the 19mm edge to assess readiness to train the fingers again. As you can see, I wasn’t able to reach that cut-off until four days later, which was the next day I proceeded to train my fingers. I continued on in this manner for the remainder of the program until I saw a stabilization of that average value over two consecutive training sessions, then I knew I needed some time off and/or a different stimulus. As you can tell by the graph representing force averages, each session showed a significant improvement in maximum force developed over the allotted pull time. As soon as this increase plateaued I ended the cycle.

Suggestions for Coaches and Athletes Using This Method to Start
So based on my effort trying this on myself for a couple cycles, I’ve come up with some suggestions for individuals who want to use this technique for improving recruitment in the finger flexors. Once you’ve got your maximum values and have chosen your percentage cut-offs, keep the repetitions at 5 per set, then rest 3-5 minutes to allow the pulleys to return to their normal shape.
The notation looks like this:
Set 1: position 1 (large edge)
- 5-7s. max effort isometric, 120s. rest (track value)
- 5-7s. max effort isometric, 120s. rest (track value)
- 5-7s. max effort isometric, 120s. rest (track value)
- 5-7s. max effort isometric, 120s. rest (track value)
- 5-7s. max effort isometric, 120s. rest (track value)
Rest 5 minutes
Set 2: position 2 (medium edge)
- 5-7s. max effort isometric, 120s. rest (track value)
- 5-7s. max effort isometric, 120s. rest (track value)
- 5-7s. max effort isometric, 120s. rest (track value)
- 5-7s. max effort isometric, 120s. rest (track value)
- 5-7s. max effort isometric, 120s. rest (track value)
Rest 5 minutes
Set 3: position 3 (smallest edge)
- 5-7s. max effort isometric, 120s. rest (track value)
- 5-7s. max effort isometric, 120s. rest (track value)
- 5-7s. max effort isometric, 120s. rest (track value)
- 5-7s. max effort isometric, 120s. rest (track value)
- 5-7s. max effort isometric, 120s. rest (track value)
Rest 5 minutes
Set 4: position 4 (largest edge 2-fingers)
- 5-7s. max effort isometric, 120s. rest (track value)
- 5-7s. max effort isometric, 120s. rest (track value)
- 5-7s. max effort isometric, 120s. rest (track value)
- 5-7s. max effort isometric, 120s. rest (track value)
- 5-7s. max effort isometric, 120s. rest (track value)
Done.
That’s a good program to start with to maximize recruitment at specific hold sizes in finger specific positions.
In order to progress this for more capacity, slowly work additional sets into each finger position. So, instead of 5 sets, you’d do 6 sets the second week, 7 sets the third week etc. This is all based on your performance with the force you’re actually producing though; that’s the auto-regulation principle. If you can get through 5 reps of a finger position and keeping your force average above the designed cut-off each attempt then you’d likely be ok to add another rep in that set. If you can keep every pull above the average in every finger position, not likely but possible, then add another set to the finger position. In other words, 2×5, 5-7s. max effort pulls instead of 1×5, 5-7s.
Again, like anything, there are many ways to progress a program like this, but having numerical values and using them to autoregulate is a far more informed way to progress finger training than just going by feel and intuition.
Take Home Points:
- Isometrics can be used to measure force output in the finger flexors at any given time for an athlete. That is considered their finger force maximum.
- This force can be used as a measure of “readiness” to train on any given day. Can they reach a certain percentage, 85% is a good value, of that maximum to demonstrate readiness to train their fingers again.
- Isometric finger training with a scale is a safe way to auto-regulate the amount of load you’re putting an athlete through when training their fingers.
- If you’ve got a young athlete looking to gain neural adaptation, start really simple. 1 position, 4-finger 19mm edge, at 5 reps of 5-7s. at the end of a conditioning session would be a good stimulus. For advanced athletes, they’ll need more load than that.
- Isometric force is a trainable facet of the SSC and is applicable to other movements that climbers use every session.
Learn More from Tyler: If you want to work with Dr. Tyler Nelson on an individual basis for injuries or strength training, he offers remote consultations to people all over the world. He also teaches online classes on strength training and injuries. Learn more.

For any additional programing ideas or questions come see me at the Performance Climbing Coach Seminar or email me at camp4performance@gmail.com. You can also find me on instagram @C4HP.
About The Author

Tyler Nelson owns and operates a chiropractic sports medicine clinic and strength & conditioning business in Salt Lake City. While earning his doctoral degree, he completed a dual program Master’s degree in exercise science at the University Of Missouri. While in graduate school he worked with the University of Missouri athletics department and currently is employed through two colleges in Utah. He teaches anatomy and physiology at a community college and works as a team physician for the Brigham Young University athletics department. He is certified through the National Strength and Conditioning Association as a Certified Strength and Conditioning Specialist and spends any extra time in his life with his wife and three kids or trad climbing in Zion National Park. He has been climbing for 17 years and gravitates toward all-day adventure climbing. His expertise in human physiology and cutting-edge knowledge of strength and conditioning science are what drive him to always challenge the norms in training.


Awesome article! Thanks Tyler. I’m curious how the protocol you tested on yourself might differ from a “traditional” max hang protocol with the same set/rep scheme but fixing the isometric load at 85-90% using weighted (added or removed) hangs on a fingerboard. It seems to me that similar readiness testing could be done by warming up and attempting an 85% max hang? Is the scale-measured isometric just ‘safer’ as your maximum force production is self-limited on under-recovered days?
Paragon Athletics and the Verm are playing around with some digital scale force measurements, and I’m excited to see where these ideas go!